
Fix Your Deadlift: Hip Hinge, Quad Engagement, Starting Position, Queues and Mobility Drills
I coach a lot of lifters, and one pattern comes up again and again: poor deadlift mechanics because of a broken hip hinge. Getting the hinge, ankle mobility and starting position right will save cycles, kilos and low back grief. This guide breaks down simple drills you can do at home with a dowel and a wall, practical mobility work, and the exact cues I use to teach a conventional deadlift that uses legs and back together - not one or the other.
Why the hip hinge matters more than you think
The deadlift is a hinge-driven movement. When the hinge is correct, the hamstrings and glutes do the heavy lifting while the spine remains braced and safe. When the hinge is wrong you get a rounded back, a hamstring that doesn't engage, and a bar path that hangs away from the legs. Practicing the hinge will dramatically speed up your progress and reduce injury risk.
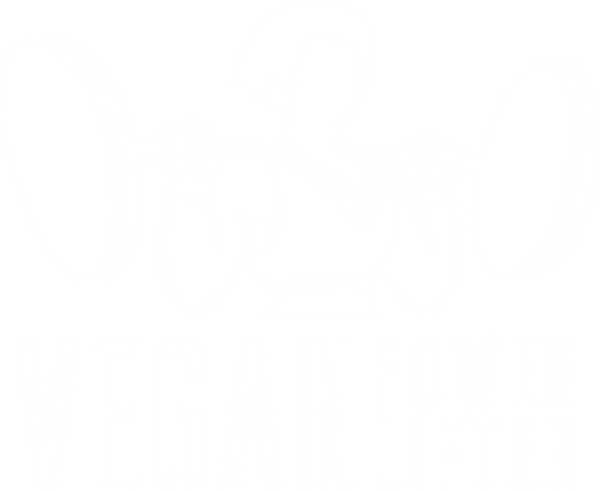
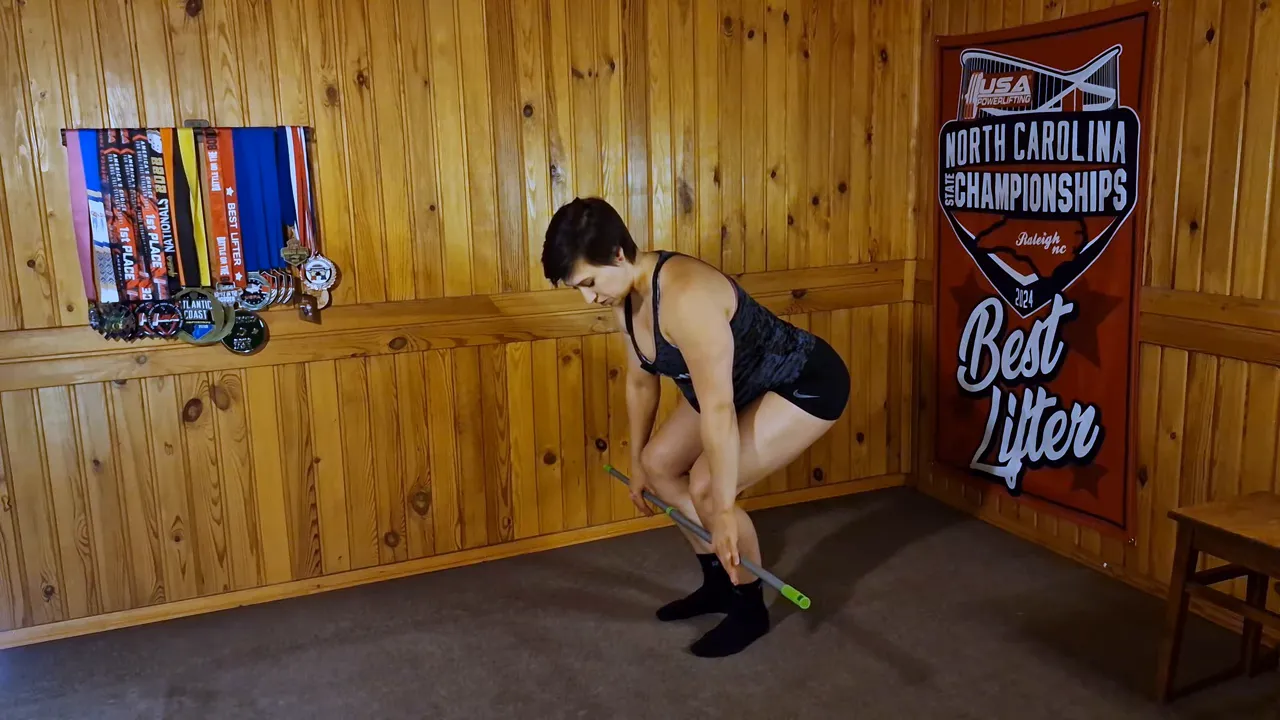
Home hinge drill: the three-point dowel check
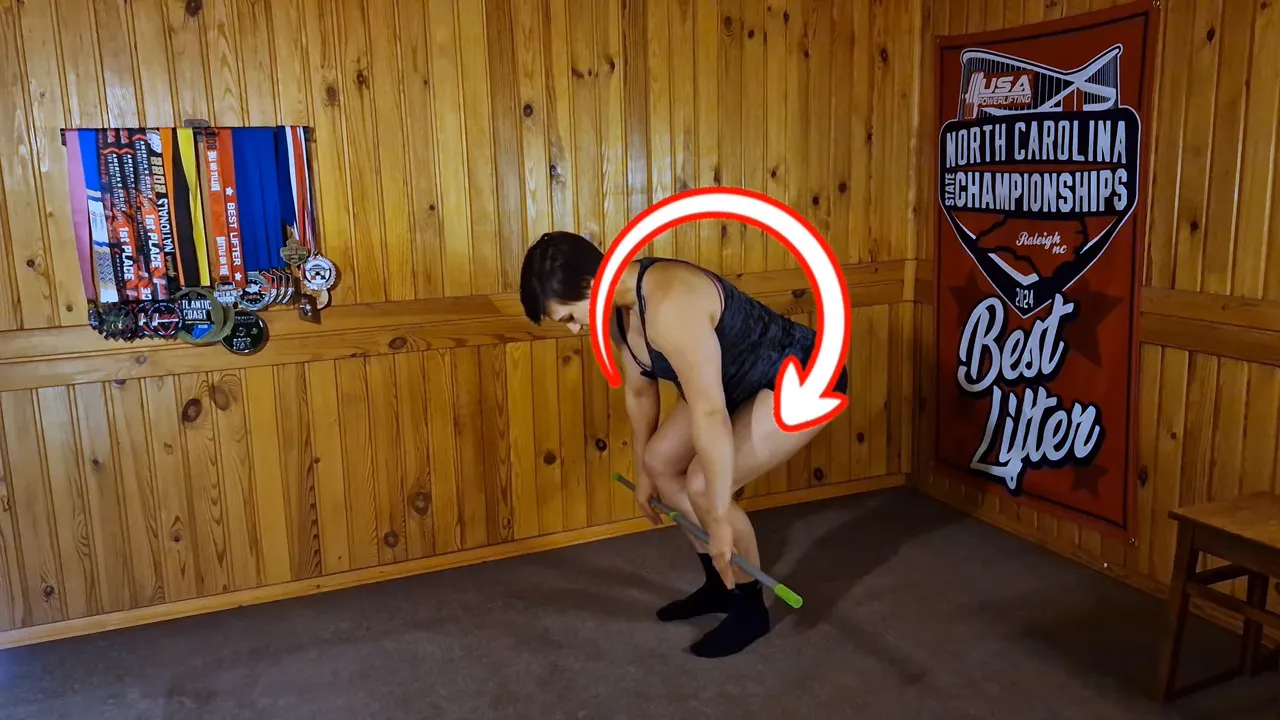
The easiest, most effective drill I give people starts with a stick. Put the dowel behind your back so it touches three points: the back of your head, your mid upper back, and your sacrum. Hold the stick lightly - do not strap it to yourself. Bend forward slowly while keeping all three contact points. Your feet should be flat on the floor, neither on your heels nor your toes. Slowly hinge down and come back up for 8 to 12 repetitions.

This teaches a neutral spine through the range and forces the movement to come from the hips. If the stick lifts off your back when you hinge, you are either moving your pelvis incorrectly or losing your brace. Repeat this drill often - five to ten minutes before training - until the movement feels automatic.
Common hinge problems and simple fixes
- Head lifts - If your head pops up, you are probably looking around while you hinge. Keep your neck neutral. Think of your spine like a single stacked column.
- Lower back arches excessively - Severe lordosis can make the dowel lift. A basic wall drill helps: stand one to two feet from a wall, press your hips and back into the wall, exhale, and force the lower back to touch. This trains positional awareness.
- Butt tucks under -If your pelvis posteriorly tilts as you hinge, your hips are tight. Address hip mobility with longer holds and glute-focused stretches below.

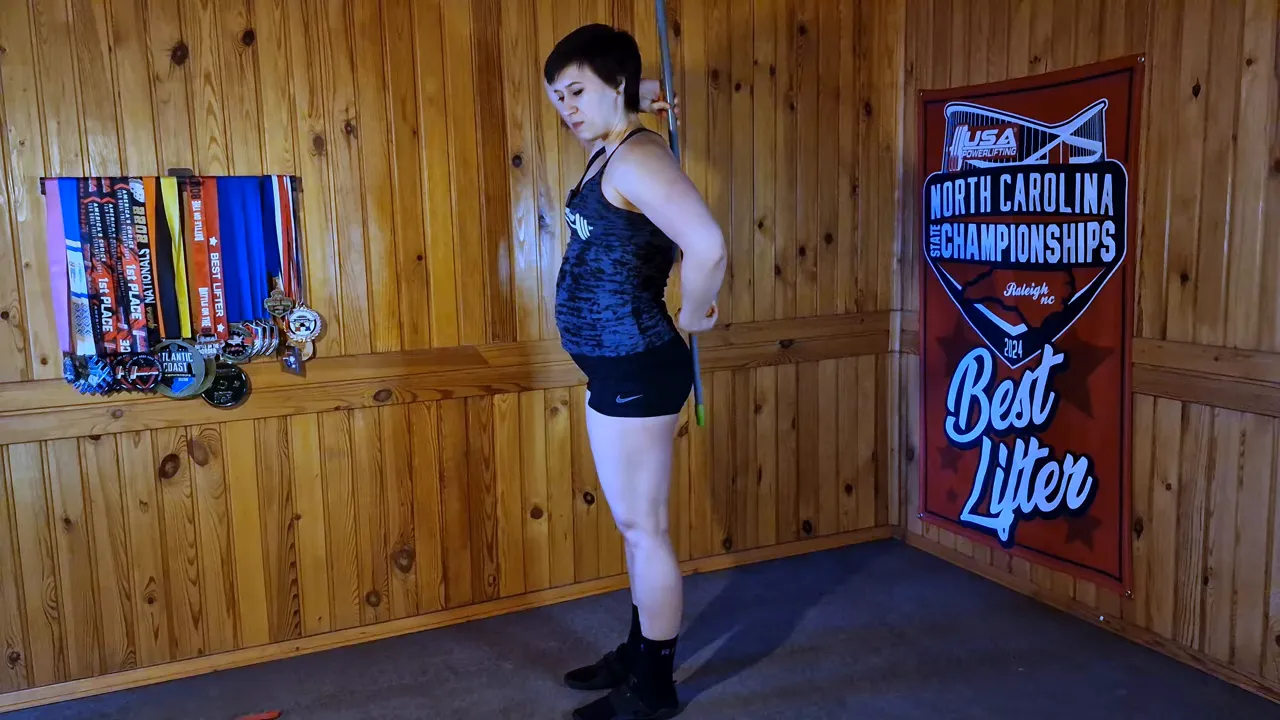
Thoracic control: elbow wall slides
Thoracic mobility and stability are underrated in deadlifting. Do elbow wall slides with your lower back pressed to the wall and your hands and elbows touching. Slide your hands overhead while keeping the contact points, and try to push the back of your palms and elbows into the wall. Do 10 to 15 reps, two sets. This is brutal the first few times, but it builds the mid-back control necessary to maintain a flat thoracic curve when you hinge.
Hip and glute mobility to prevent butt tuck
Tight hips force compensation. For a proper hinge you want your glutes and hamstrings to accept the length and tension. I use slow, sustained holds for glute release more than quick bouncy stretches. Here are three favorites:
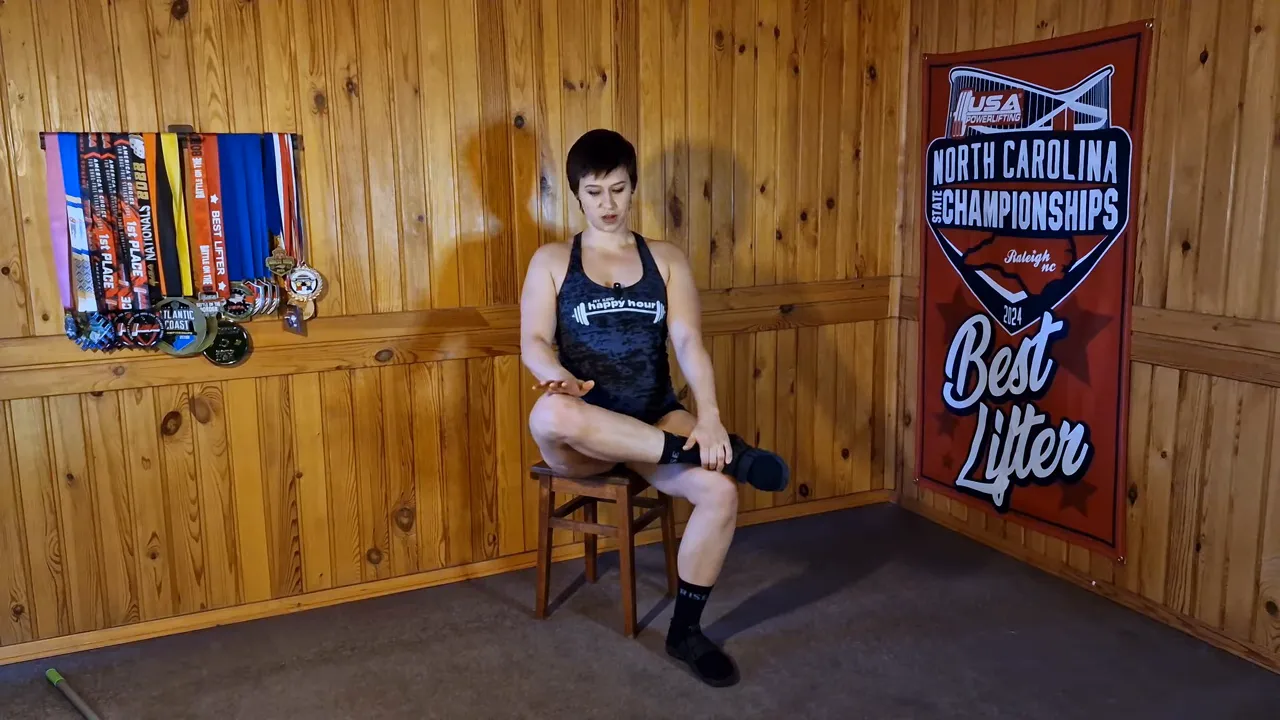
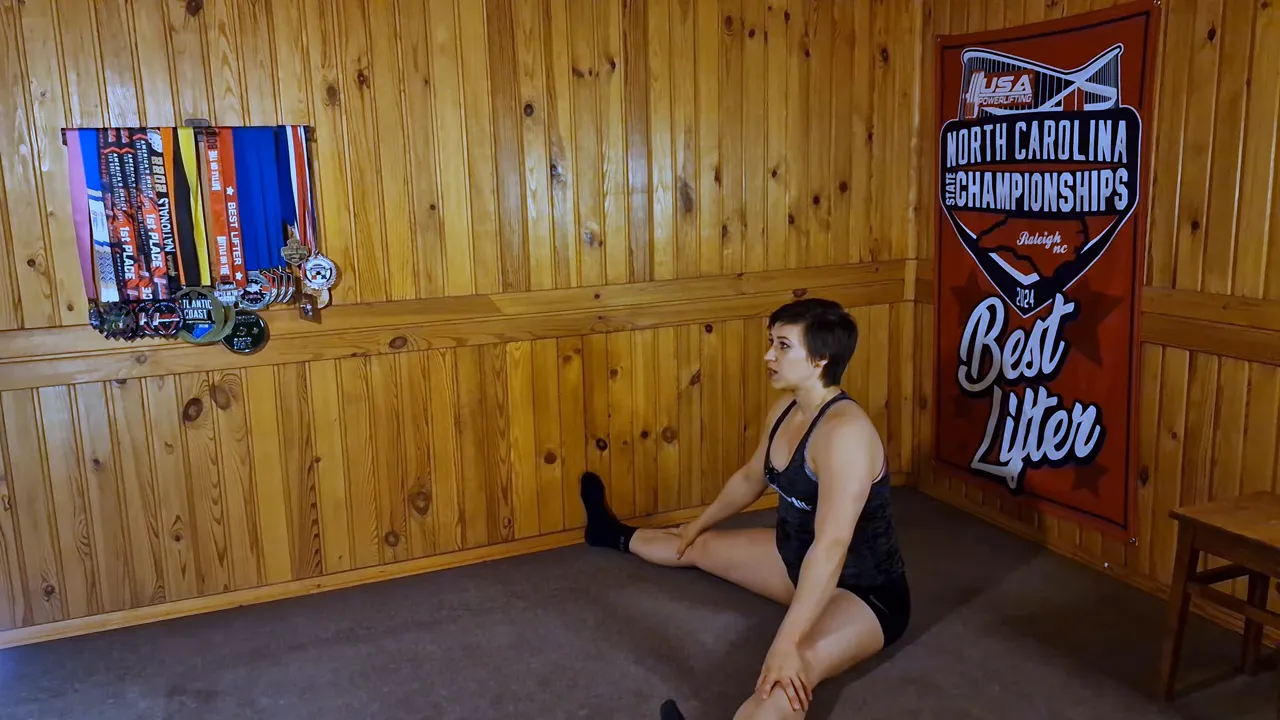
- Seated chair stretch / supine variation - Place a shin across a chair or lie on the floor with the ankle resting on the opposite knee. Gently press the top knee away and rotate to find the glute connection. Hold 60 to 90 seconds. Anything under 30 seconds is usually too short for meaningful change.
- Lazy prone glute stretch - Lying on your back, 90-degree knee, heel over the opposite knee, relax and gently push the knee toward the wall. Rock slightly with your breath for 20 breaths. This helps the hamstring–glute link wake up.
- Downward dog glute focus - From a downward dog, rock with small steps and lift one leg to place more load on the other glute. Sit into the glute you want to stretch - avoid letting the lower back round. If floor position is too intense, use hands on a bench or couch and hinge from the hips while keeping the spine long.
Important note: do not try to stretch your lower back directly. The muscles between vertebrae are stabilizers, and over-stretching them can create instability. If you feel the stretch in the lower back instead of the glute, adjust your position until you feel the intended tissue.
Glute-focused floor stretch with a straight back
When you do seated forward glute stretches, keep a long spine. Hinging from the hips with the back straight targets glutes; rounding the back shifts the load to small spinal muscles and hamstrings in ways you don't want. This simple change makes the stretch safer and more specific for improving hinge mechanics.
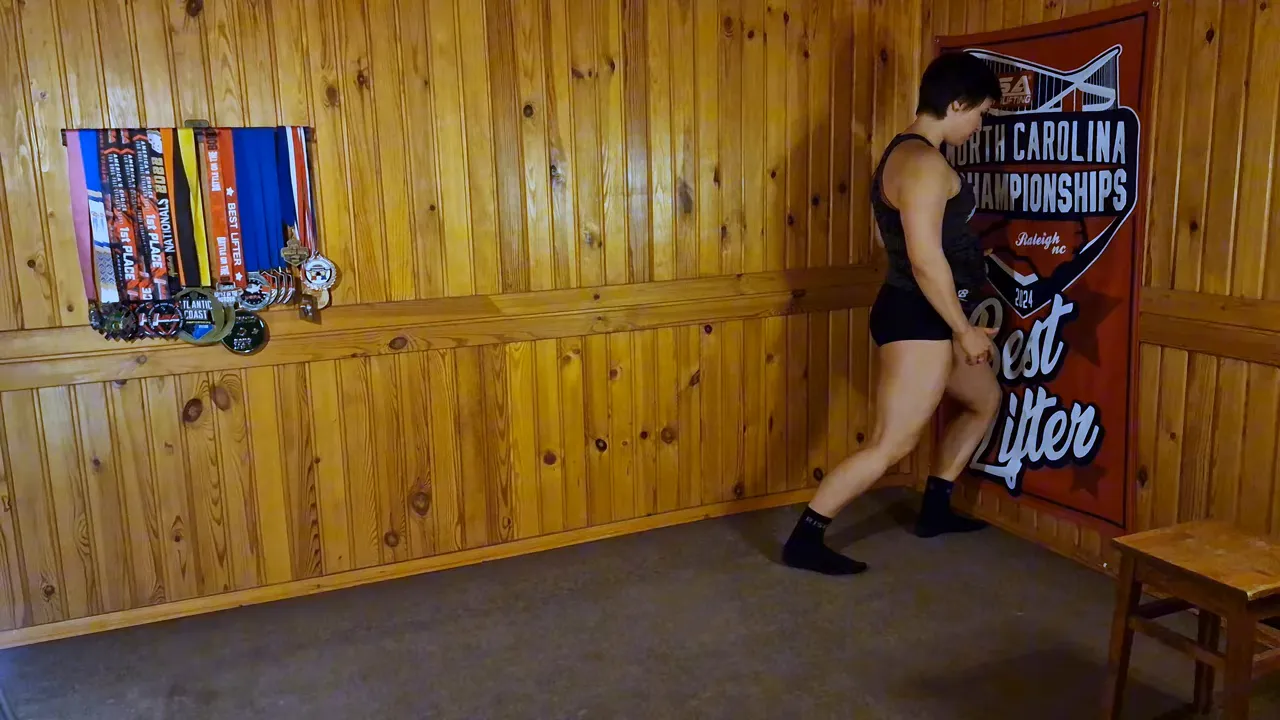
Ankle mobility: passive and active work
Ankle stiffness limits how far your knees can travel forward in the setup. If your ankles are tight, you will lose leverage and try to compensate with the low back. Work both passive and active ankle drills.
- Passive elevation stretch - Place your foot on a small elevation and move the knee over the toe. Keep contact of the entire foot on the surface. If you feel the stretch in the calf and it's comfortable, hold. Use bodyweight or a light dumbbell to increase intensity slowly.
- Active wall knee reaches - Step a few inches from a wall and try to touch the wall with your knee while lifting your toes toward your shin. This recruits the anterior tibialis and strengthens the end-range control you need when your knee travels over the toes in a lift. Do two sets of 12 per leg.
If your knee collapses inward or outward during the wall knee reach, see a physical therapist. Hip structure and control affect how the knee tracks, and some patterns require professional assessment. For most people the passive plus active work will expand both mobility and strength at end range.
Conventional deadlift setup: line up toes, knees, shoulders
Everything starts from a consistent setup. Stack three points to simplify the geometry:
- Knee over midfoot
- Shoulder over knee
- Bar over midfoot
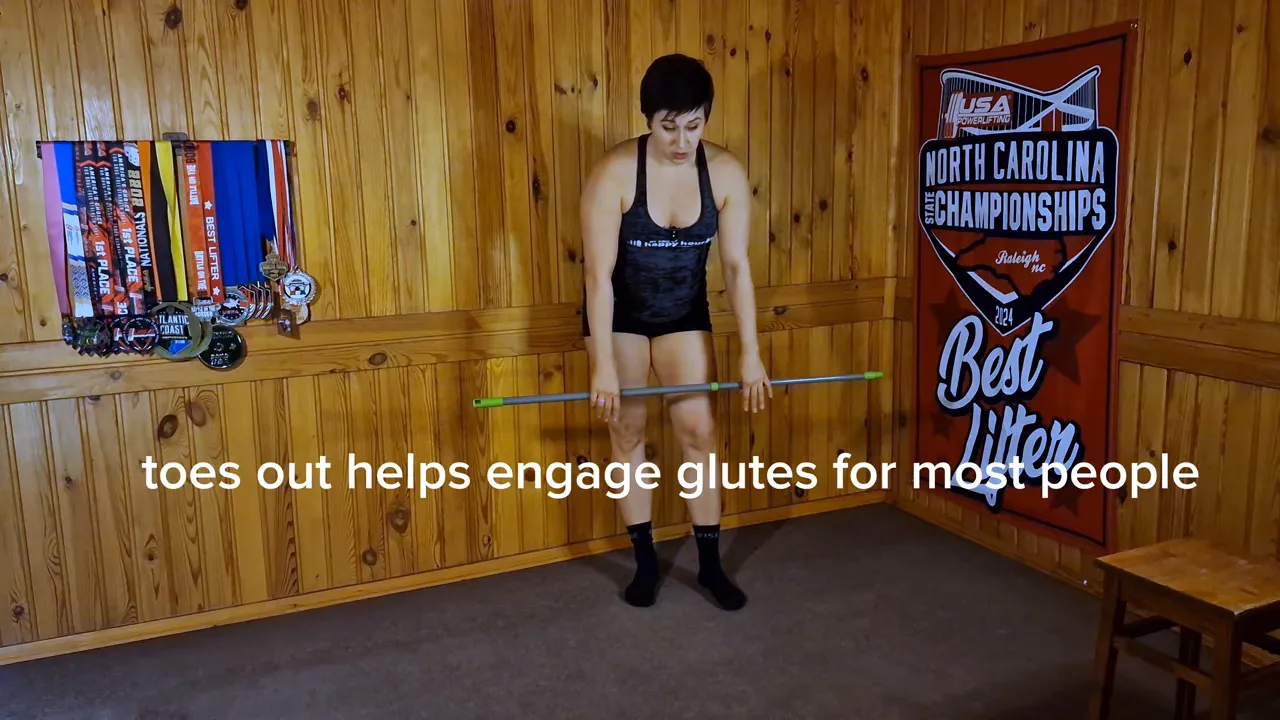
I like my heels relatively close together with a slight toe flare to let the glutes engage. Some lifters prefer parallel feet and narrower grips; I turn my toes out a bit to recruit glute maximus. Whichever foot angle you choose, make sure the knees have room to move forward slightly as you initiate the pull so the bar stays close to the shins.
What to think about during the pull
When the muscles fire, think less about "getting up" and more about two coordinated actions: push the floor away with your legs, and push your hips forward while moving your shoulders back. Imagine your body as a wheel: hips and shoulders rotate in opposite directions to finish the lockout.
Key cues I use with athletes:
- Push the floor away rather than pull the bar up.
- Drive the hips forward at lockout -do not hyperextend by pulling the torso with the lumbar spine.
- Keep the bar close - if the bar hangs away from the legs you will create torque on the spine and make the lift harder.
- Arms relaxed -treat your arms as hooks. Protract the shoulder blades slightly to shorten the range without actively trying to squeeze them together.
"Think of the hinge staying the same and your legs adding the extension."
What to avoid in the setup and pull
- Hips too high - this shifts work onto the back and reduces leg drive.
- Hips too low - this makes the lift a partial squat and increases the chance of failing the pull early.
- Rounded lower back - if you cannot maintain a flat neutral spine, drop load, fix mobility or get a coach to assess.
- Excessive chest squeeze - a small arch helps, but forcing shoulder blades together while hanging from the lats often creates tension and impairs breathing and bracing.
Short training template for home prep
If you want a five-step routine to do at home before hitting the gym, try this sequence:
- Dowel hinge drill: 8–12 reps.
- Elbow wall slides: 2 sets of 10–15.
- Seated glute stretch: hold each side 60–90 seconds.
- Passive ankle elevation stretch: 2 minutes per side, as tolerated.
- Active knee-to-wall ankle mobility: 2 sets of 12 per leg.
Spend about 15 to 20 minutes on this sequence. It prims the hinge, opens the hips, and gives the ankle and thoracic control you need to pull more efficiently.
Programming and progression notes
Mobility is only useful if you can apply it under load. That means training the newly available ranges actively. Use lighter warm-up sets where you intentionally move the knees forward, keep the bar close and focus on the hip push. Once movement quality is consistent, add weight in small increments while preserving technique. I often have lifters film their first heavy sets and compare bar path, hip position and spine angle to earlier warm-ups.
Prioritize form over ego.
Consistent, technically sound repetitions create the strength you want. Even small corrections - moving the knee a few centimeters forward, keeping the dowel contact points in the hinge - compound into big improvements over weeks.
Finishing thoughts
Deadlift mechanics boil down to three things: a reliable hip hinge, adequate ankle and hip mobility, and a starting position that lets legs and back share the load. Practice the dowel three-point hinge, strengthen thoracic control, commit to long glute holds, and do active ankle work. These simple, repeatable habits will change how you deadlift forever.
Start with small, consistent sessions and focus on quality over quantity. The barbell will reward good setup and disciplined practice with more kilos and fewer setbacks.
Ready to take your training to the next level, get stronger, improve your diet? |
|
Our team is here to help! Select from a list of our signature 1:1 custom programs or self-guided courses |
| See Programs |